How to Use the School Settings section in XSEED Universal to manage the XSEED Learnometer test
How Can We Help?
< All Topics
Print
How to Use the School Settings section in XSEED Universal to manage the XSEED Learnometer test
PostedSeptember 15, 2022
UpdatedNovember 14, 2022
Byxseed
This video and step-by-step instructions will guide school administrators on how to use the School Settings section in the Management Zone in XSEED Universal to successfully conduct the annual XSEED Learnometer test in your school
Step 1
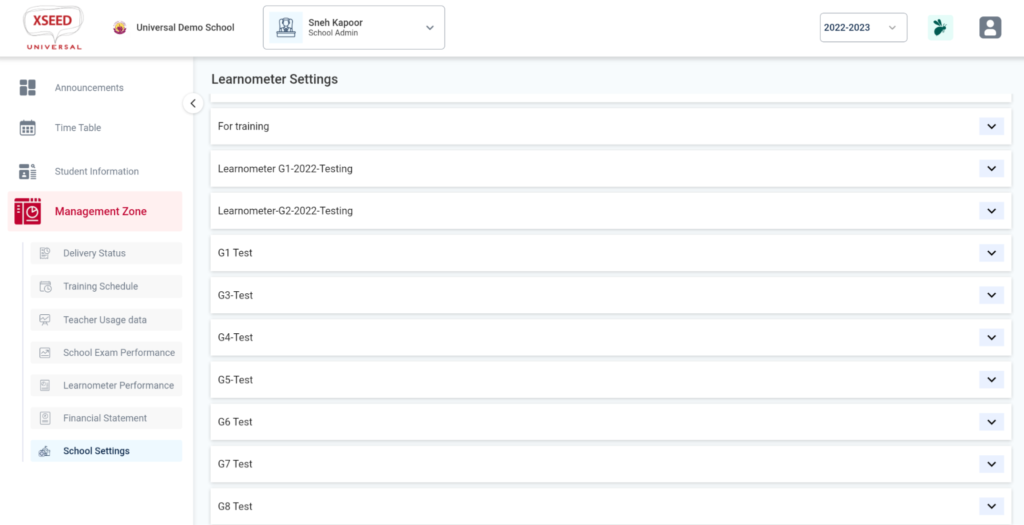
In the management zone of XSEED Universal, click on “School Settings”. You will see all the grades for which the XSEED Learnometer test is available for your school.
Step 2
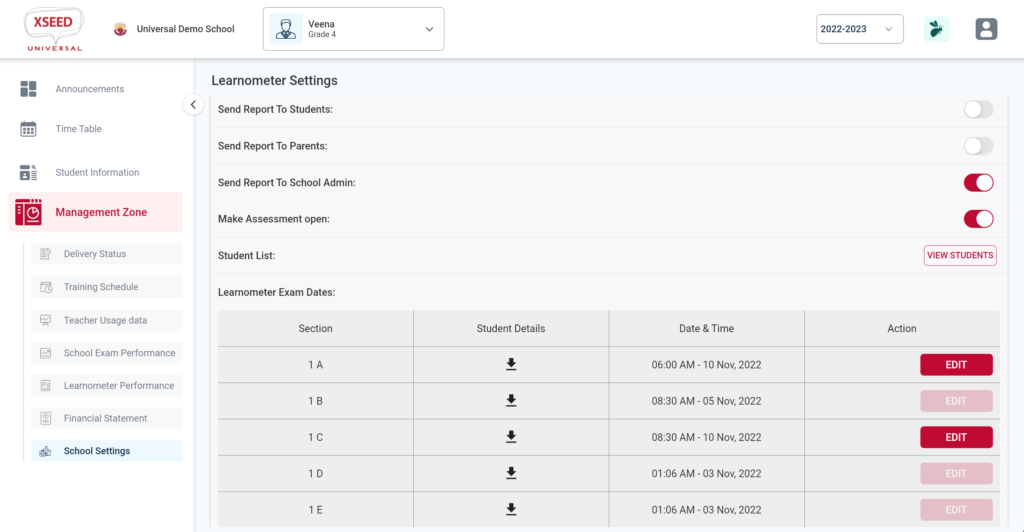
First, you can customize the delivery of reports for the Learnometer test. By default, the XSEED Learnometer test report is set to be delivered to the school admin, as well as to the parents and students. If you would like to modify the settings and prefer not to have the report sent directly to parents and students, you can do so here.
Step 3
The next option is to open the test for your school. While the XSEED Learnometer test becomes publicly available at a specific date, you MUST choose the date, within the overall test window, when the test will be opened and available in your school. Note that once the date is past, it cannot be modified.
Important: Check your computer’s date and time while doing this activity. Incorrect system date/time can cause issues with the selected schedule.
Step 4
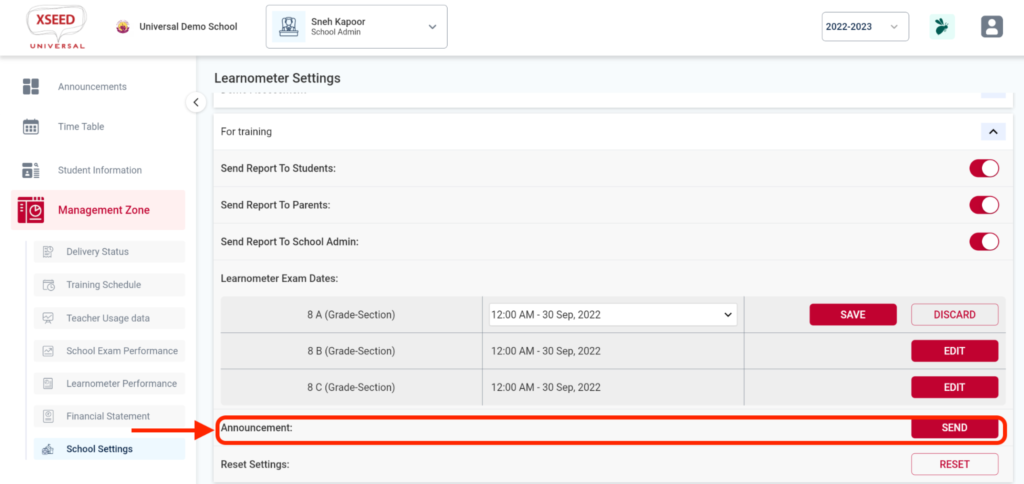
Use the Announcement button to send out an announcement via XSEED Universal to your teacher, parent, and student community about the upcoming test.
Step 5
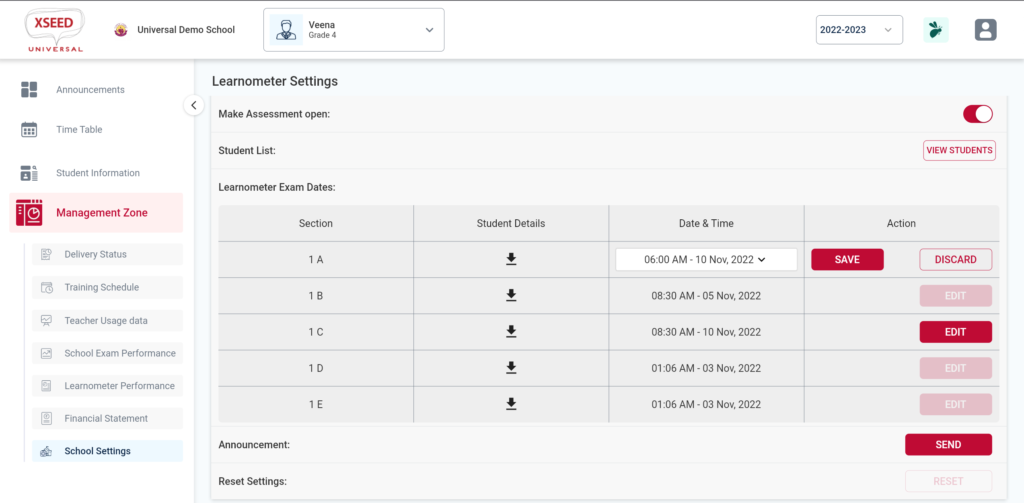
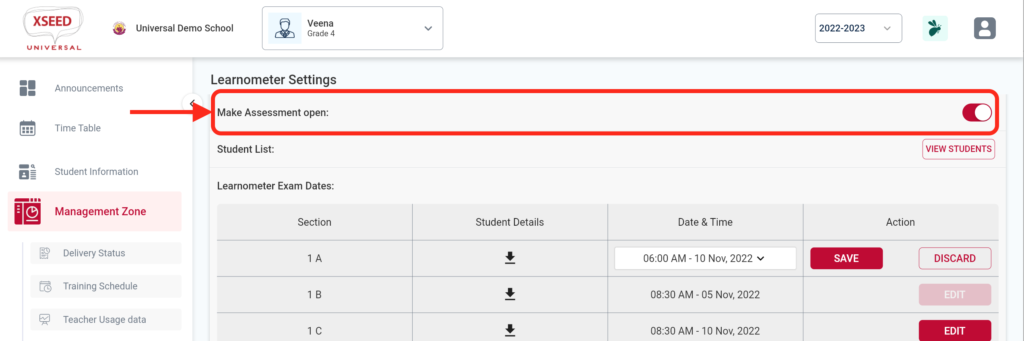
Use the “Make Assessment Open” setting to close the test for a specific grade, when school day ends, or if the school is closed. This will ensure no student is able to take the test from home during off-school time. You can open it again when needed.
Step 6
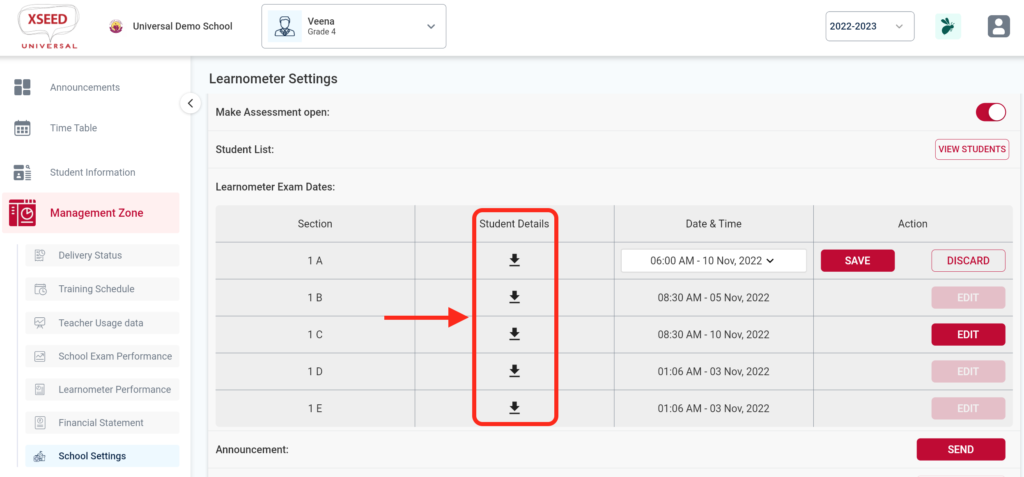
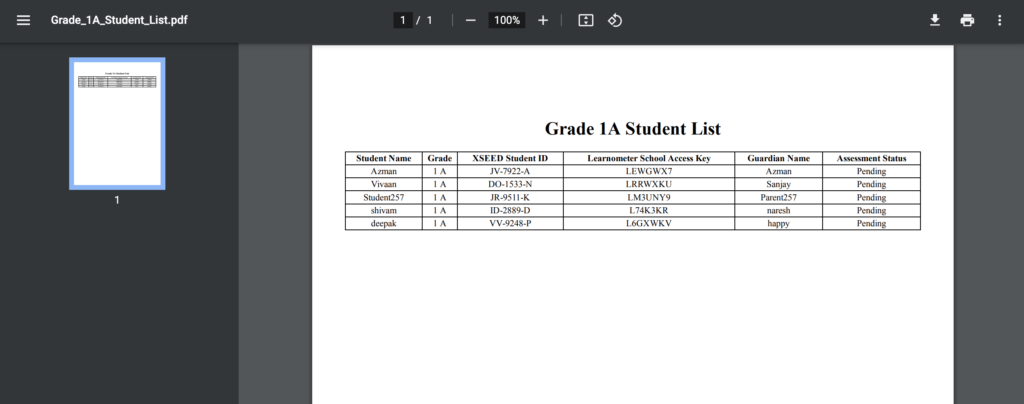
Use the download button to download the list of all registered students of any grade, and to check who have not taken the test yet.